Showing posts with label tutorials. Show all posts

Tuesday, March 6, 2018

How To Make A Frozen Charlotte Shrine Ornament

Today I am sharing how I made this lovely Spring shrine.
The full hanging length is 16 inches
and the width is a bit over 5 inches.

Here are the materials used (these are available as a kit):
vintage tart pan
antique German bisque doll (Frozen Charlotte)
wood wings
wood backing piece
stamped banner image
jewelry eye pins (2)
jewelry jump ring
beaded chain
glass chandelier crystal with wire attachment
flower beads (3)
glass pearl beads (2)
bag of green moss
torn sari silk
coffee dyed cheesecloth
paper rose buds (10)

And these are the basic craft tools and supplies needed:
hammer and awl
paint brush
RANGER Patina For All Metals in Victorian Gold
round nose pliers
cream paint (chalk or acrylic)
foam brush
sand paper
foam tape
tacky or hot glue
E6000 glue
scissors or wire snips

use a hammer and awl to make top and bottom holes in the tin
(the kits contain either the oval tin pictured here
or the diamond tin pictured in the kit photo;
kit pieces will arrive with holes punched)

paint the inside of the tin
(use any paint you like,
this patina by Ranger is a favorite of mine)

insert an eye wire into a glass bead,
insert it through one of the holes in the tin
keeping the bead on the outside of the tin,
wrap the end of the wire around the round nose pliers until taut;
repeat this on the other side

(HERE'S THE BETTER WAY:
ATTACH THE JUMP RING TO ONE EYE WIRE
AND THE BEADED CHAIN TO THE OTHER 
BEFORE ATTACHING THEM TO THE TIN)
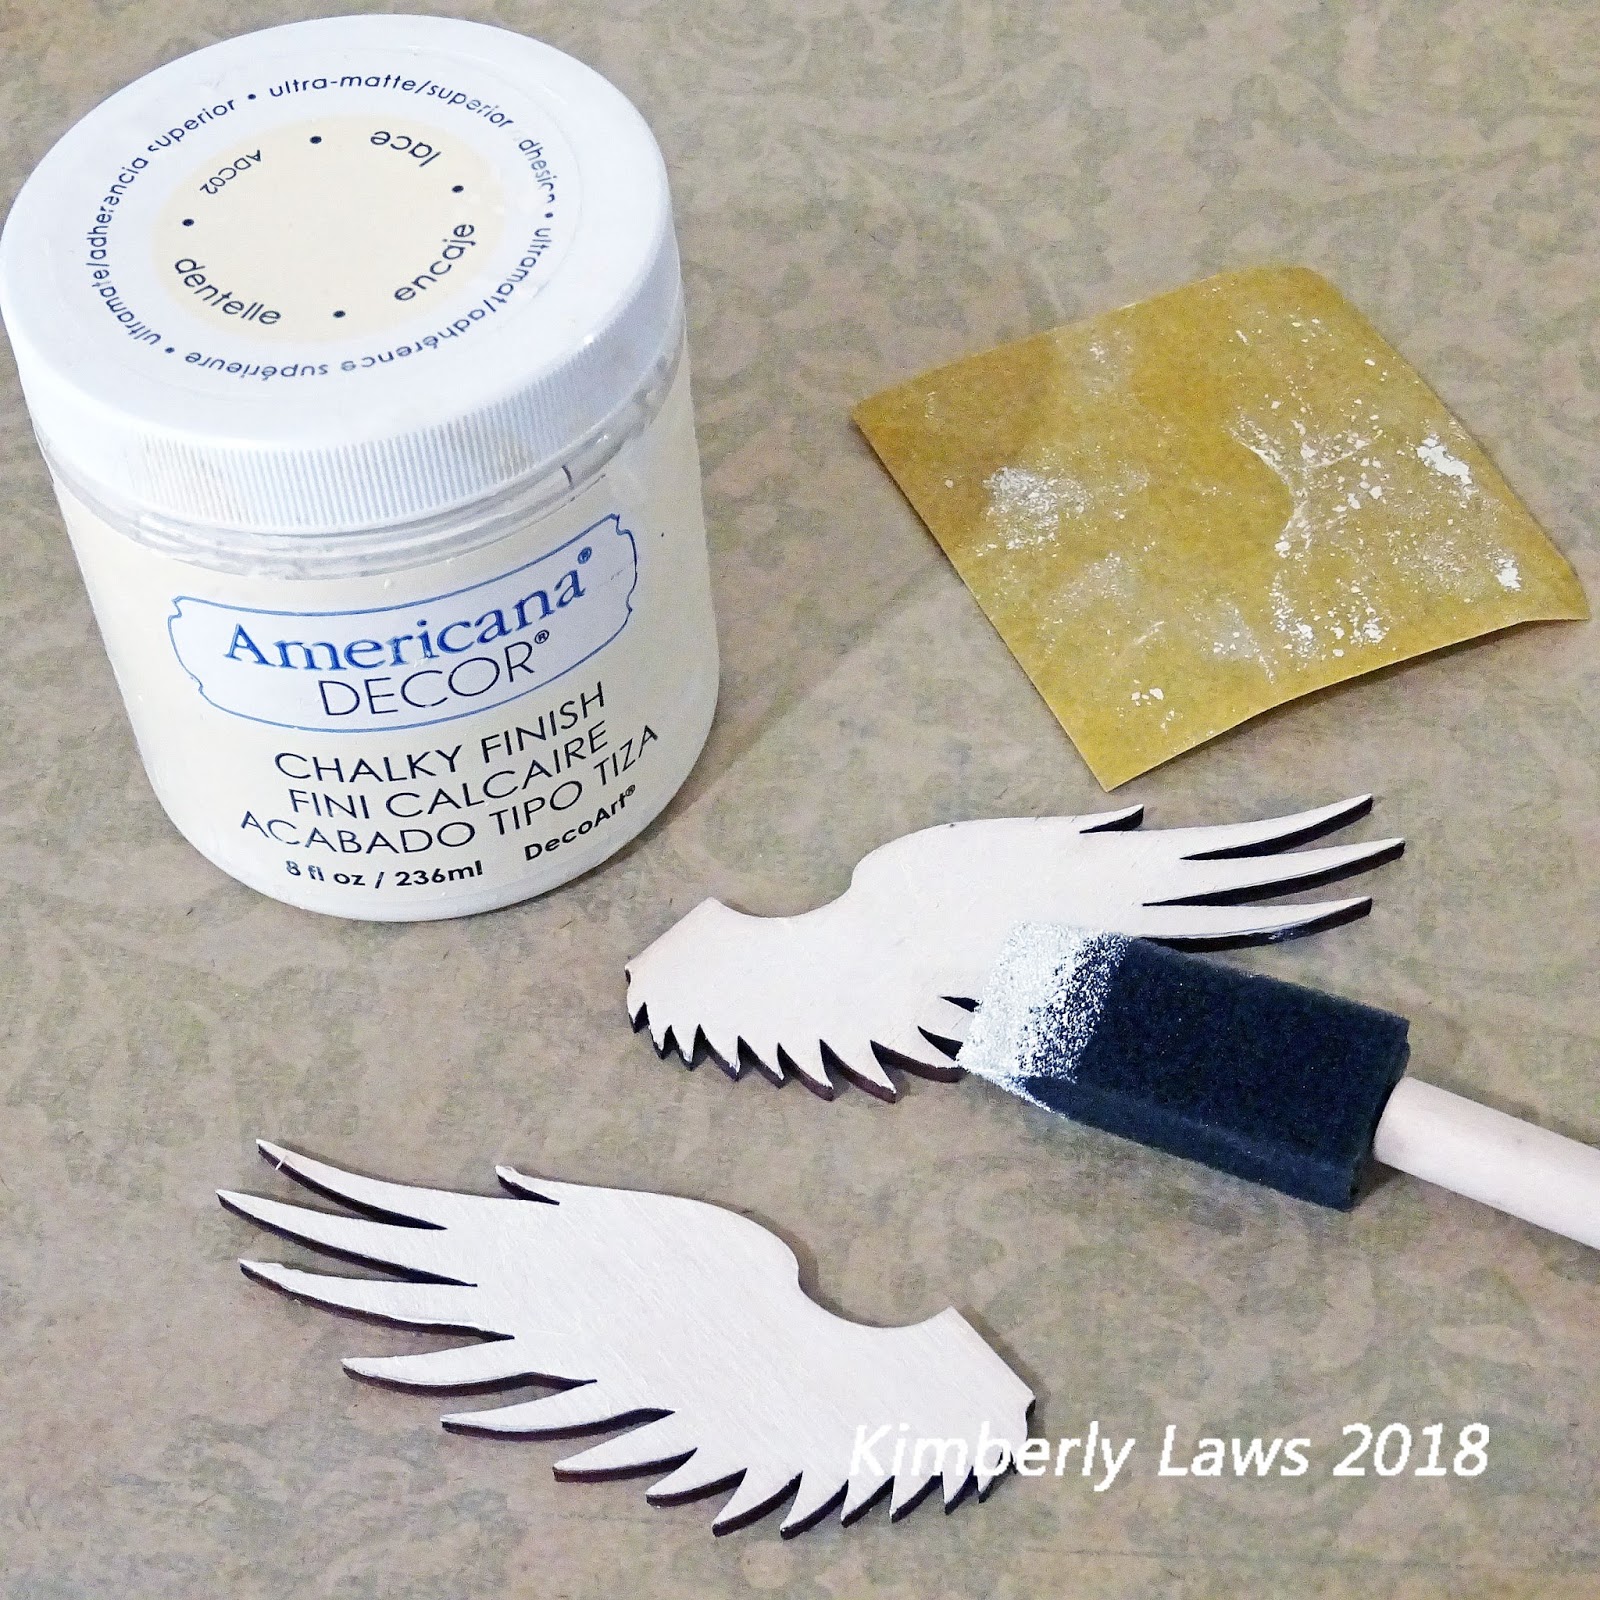
use a foam brush to apply a light coat of paint to the wings,
allow them to dry,
lightly sand to distress them a bit

(I like chalk paint,
acrylic is a perfectly acceptable alternative)

(apologies: there's no picture of the foam tape)

apply foam tape to the flat back of the tin,
peel the protective strip,
center and press the wood backing in place


use liquid glue to attach the wings to the wood backing piece

attach the beaded chain to the eye wire at one end,
attache the chandelier crystal to the end of the beaded chain
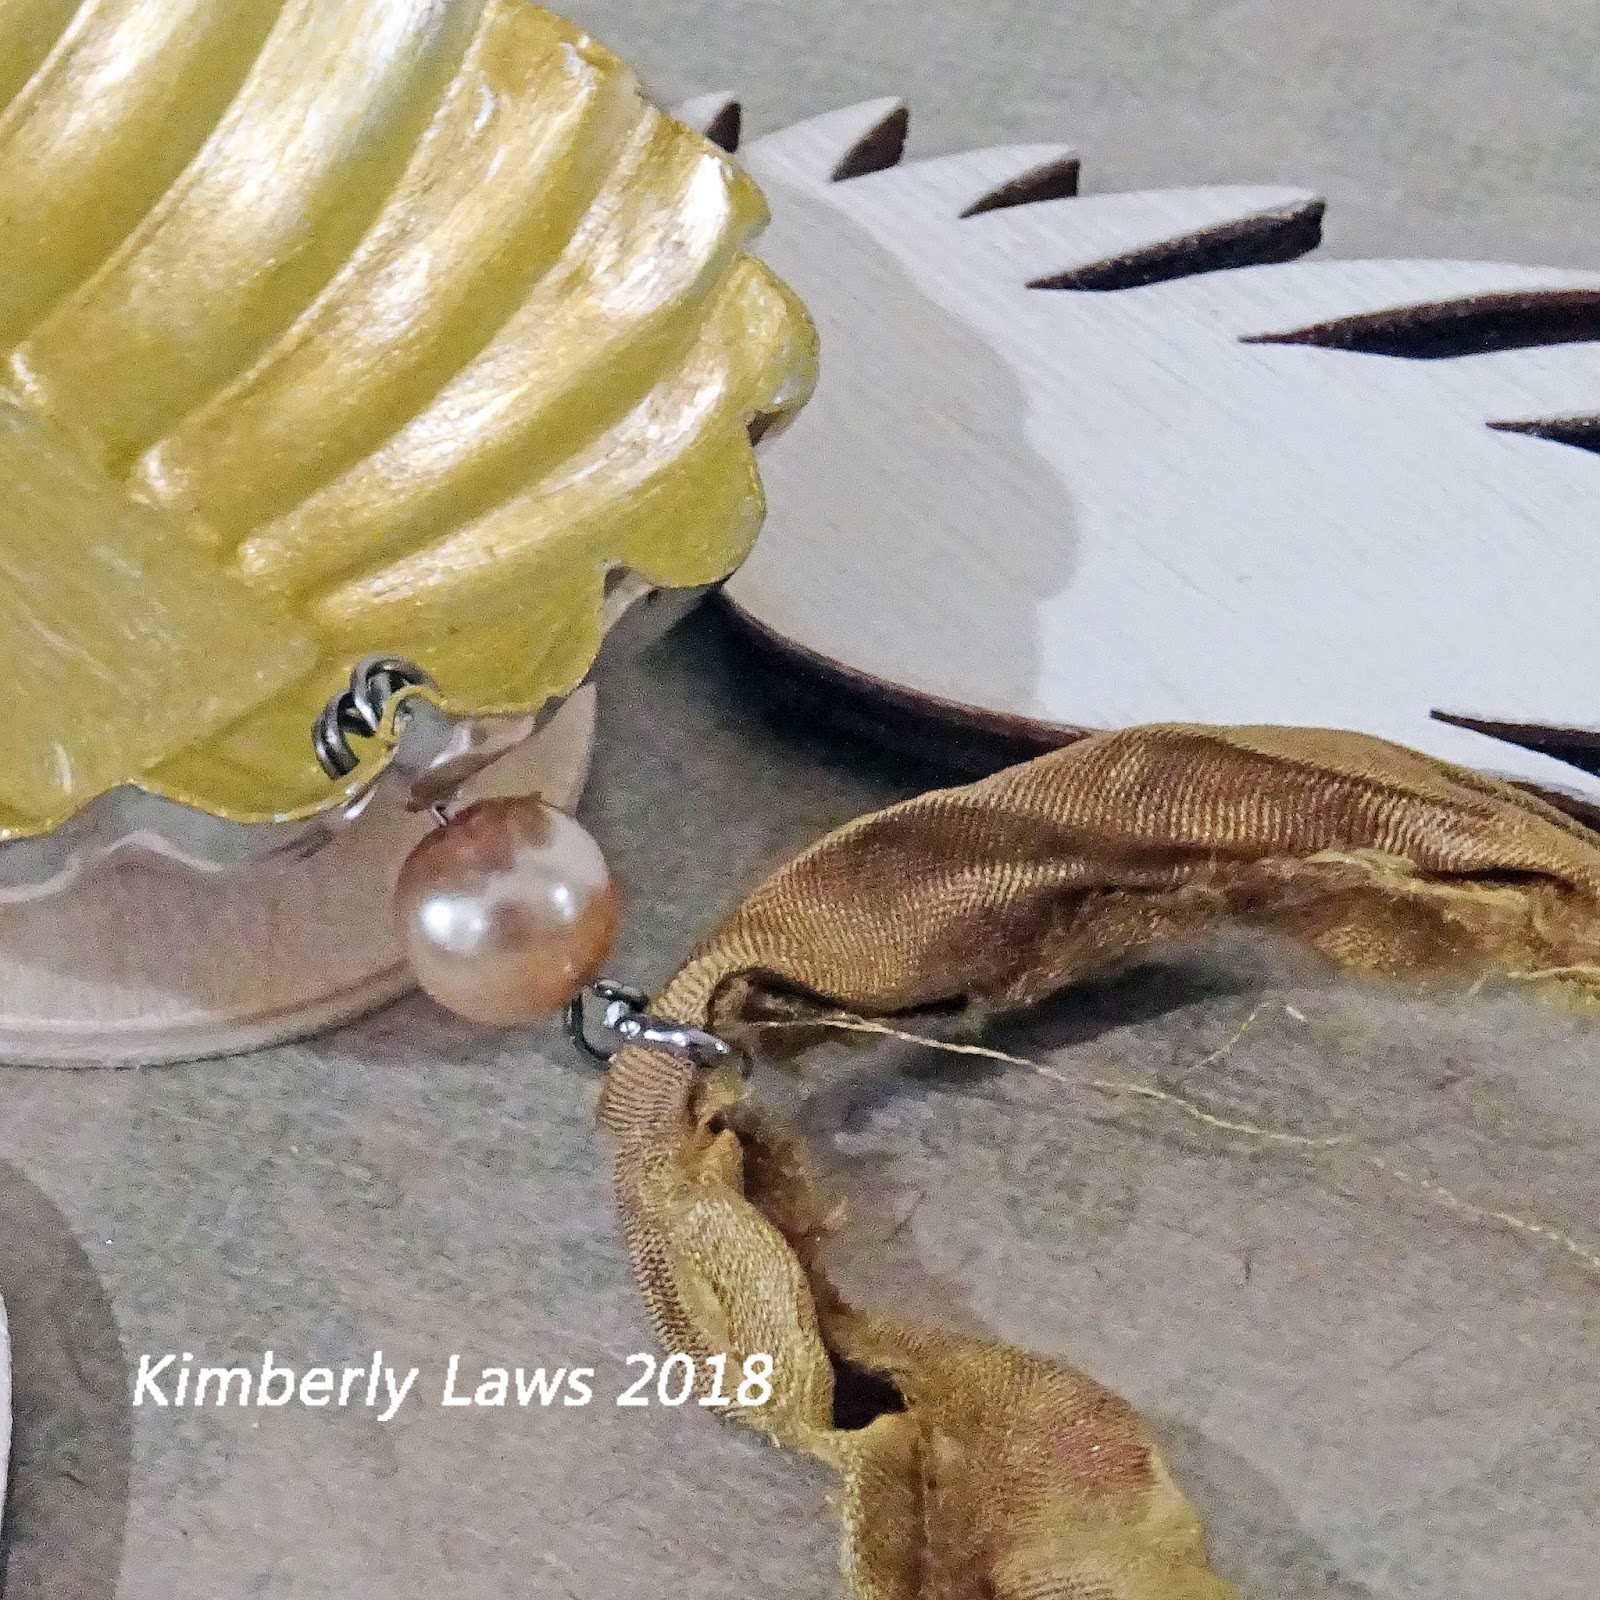
 attach the jump ring to the opposite eye wire,
thread the sari silk through the jump ring,
knot the ends of the sari silk

 bunch up the cheese cloth and secure with a dab of E6000 glue

use E6000 to secure the back of the doll to the tin

(HINT:
use a bit of hot glue to hold the doll in place while the E6000 dries)

 arrange and glue the moss as in the photo above

arrange 2 bundle of paper roses
(one with 3 roses and the other with 7 roses),
use one of the stems to wrap and secure the bunches,
trim the ends with scissors or wire snips

glue the roses in place
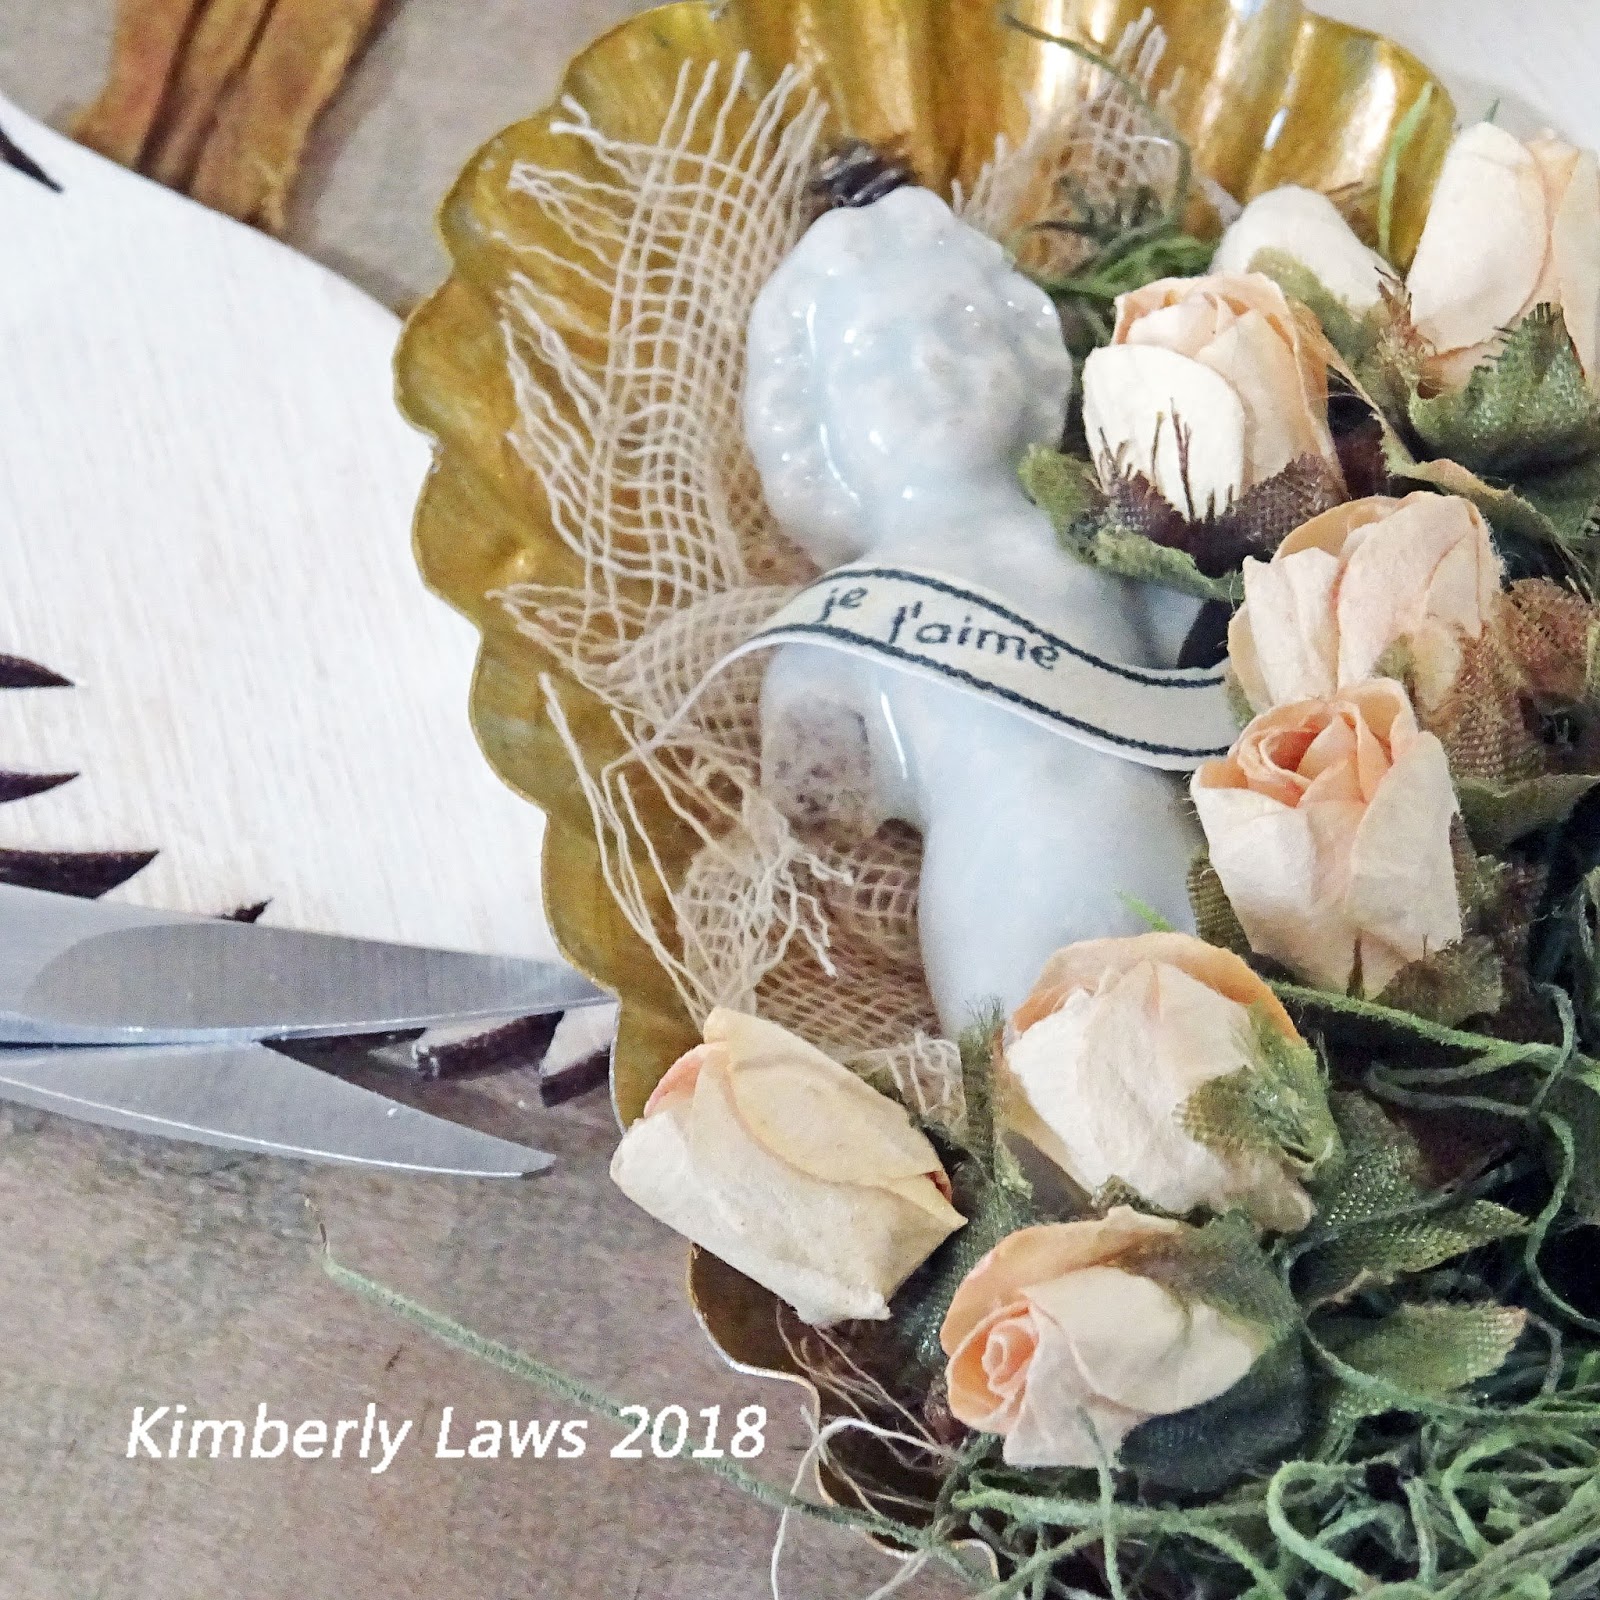
fussy cut the banner,
glue it to the doll like a sash

use hot glue to secure the 2 flower beads as shown

Please don't hesitate to ask questions.

The original and a limited number of kits
are available for purchase in my Etsy shops.

Wishing you a beautifully creative day!
hugs,
Kim


Friday, July 11, 2014

Spellbinders A Gilded Life Showcase & Giveaway Coming Soon!

 
This is going to be truly spectacular!
 
Check out Spellbinders blog this Monday for the formal announcement.
 
en-JOY Your Blessings,
Kimberly

Sunday, March 9, 2014

Corrugated Cardboard - from the ridiculous to the sublime - how-to

I have been playing with corrugated cardboard again,
and thought you might like to see my process.
 
This is not one of my "pretty,"
well scripted posts for my design team projects,
this is real mess making in the studio.
 
I hope you enJOY it.
 
peel the paper layer from one side of the corrugated cardboard

it should look like this once the layer is removed

use a rough grit sandpaper to selectively remove more of the paper,
be sure not to remove too much 

water down a bit of acrylic craft paint

brush the paint lightly over the paper covered and ribbed surfaces

allow to thoroughly dry,
or dry with heat tool

select a flourish stamp and a Distress ink color to contrast with the chosen paint color

stamp every paper covered surface
 
You now have a canvas ready for your next collage.

I finished mine with vintage laces, buttons and millinery.
 
The flourish stamp, paper, die, and image are also from Tim Holtz.
 
Please note:
I have no affiliation with the companies and products mentioned or pictured here.
I just wanted to share.
 
Speaking of sharing,
I am linking up to:
http://www.create-with-joy.com/2014/03/inspire-me-monday-week-114.html
 
enJOY a lovely week my friends,
Kimberly

Sunday, May 5, 2013

Reverse Painting On Glass, A Simple How-To

I joined blissfullARTswaps'
Alice Charm Swap.
I wanted to try something new
and thought I would share my technique here.

No. 1
I used antique eyeglass lenses,
but you can use microscope slides
or any other glass you think might work.
Be sure that your glass is clean.
 
No. 2
Stamp image on flat side of lens,
using StazOn ink.
 
No. 3
Use a heat gun to set ink,
or allow drying time according to manufacturer's directions.

No. 4
Select the colors of acrylic paint you want to use.
 
No. 5
Working over the stamped image
and using one paint color at a time,
fill in one area of the image.
 
No. 6
Use heat gun to set paint.
Allow glass to completely cool
before proceeding to the next area to be painted.
 
No. 7, 8, and 9
Repeat No. 5 & 6 for each color.
It will look like a hot mess on the side you are working on.
 
No. 10
Cover the entire surface with your background color,
and dry with the heat gun.
 
No. 11
Repeat No. 10.
You may need to repeat this a third time.
The background color should be opaque when dry.
 
No. 12
Once dried and cool,
flip over the lens to be amazed!

No. 13
This shows that I am not the neatest painter.
You should clean the edge of the lens,
I use my fingernail to scrape any overflow of paint.
 
No. 14
Cut a piece of paper to fit the back of the lens.
 
No. 15
Make a "sandwich" of the three layers,
painted lens - paper - clear lens.

No. 16
Using copper foil tape,
wrap the edge of the "sandwich."
 
No. 17
I am not going to give a lesson in soldering,
I am by no means an expert.
(you only need to enlarge these photos to be assured of that fact)
There are plenty of great tutorials out there.
 
No. 18
After all are soldered,
give them a good cleaning with glass cleaner.

Here are mine,
ready to go!
 
I am sharing at:

 
I hope you give this a try.
It really is so simple,
and I think the results are very sweet.
 
enJOY Your Blessings,
Kimberly

Related Posts Plugin for WordPress, Blogger...