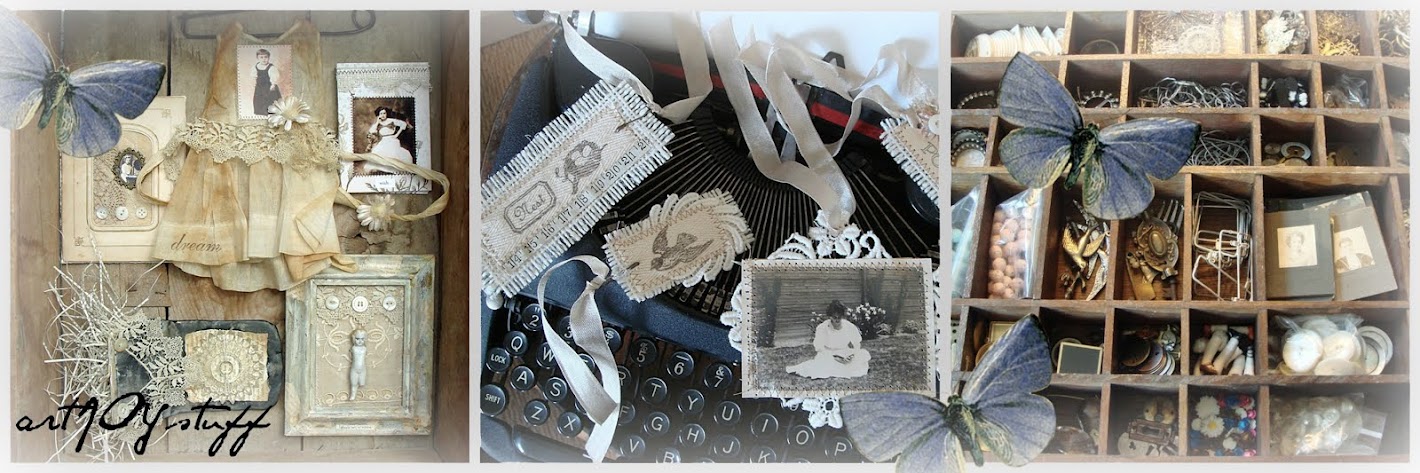

Today I am sharing how I made this lovely Spring shrine.
The full hanging length is 16 inches
and the width is a bit over 5 inches.

Here are the materials used (these are available as a kit):
vintage tart pan
antique German bisque doll (Frozen Charlotte)
wood wings
wood backing piece
stamped banner image
jewelry eye pins (2)
jewelry jump ring
beaded chain
glass chandelier crystal with wire attachment
flower beads (3)
glass pearl beads (2)
bag of green moss
torn sari silk
coffee dyed cheesecloth
paper rose buds (10)
And these are the basic craft tools and supplies needed:
hammer and awl
paint brush
RANGER Patina For All Metals in Victorian Gold
round nose pliers
cream paint (chalk or acrylic)
foam brush
sand paper
foam tape
tacky or hot glue
E6000 glue
scissors or wire snips

use a hammer and awl to make top and bottom holes in the tin
(the kits contain either the oval tin pictured here
or the diamond tin pictured in the kit photo;
kit pieces will arrive with holes punched)

paint the inside of the tin
(use any paint you like,
this patina by Ranger is a favorite of mine)

insert an eye wire into a glass bead,
insert it through one of the holes in the tin
keeping the bead on the outside of the tin,
wrap the end of the wire around the round nose pliers until taut;
repeat this on the other side
(HERE'S THE BETTER WAY:
ATTACH THE JUMP RING TO ONE EYE WIRE
AND THE BEADED CHAIN TO THE OTHER
BEFORE ATTACHING THEM TO THE TIN)
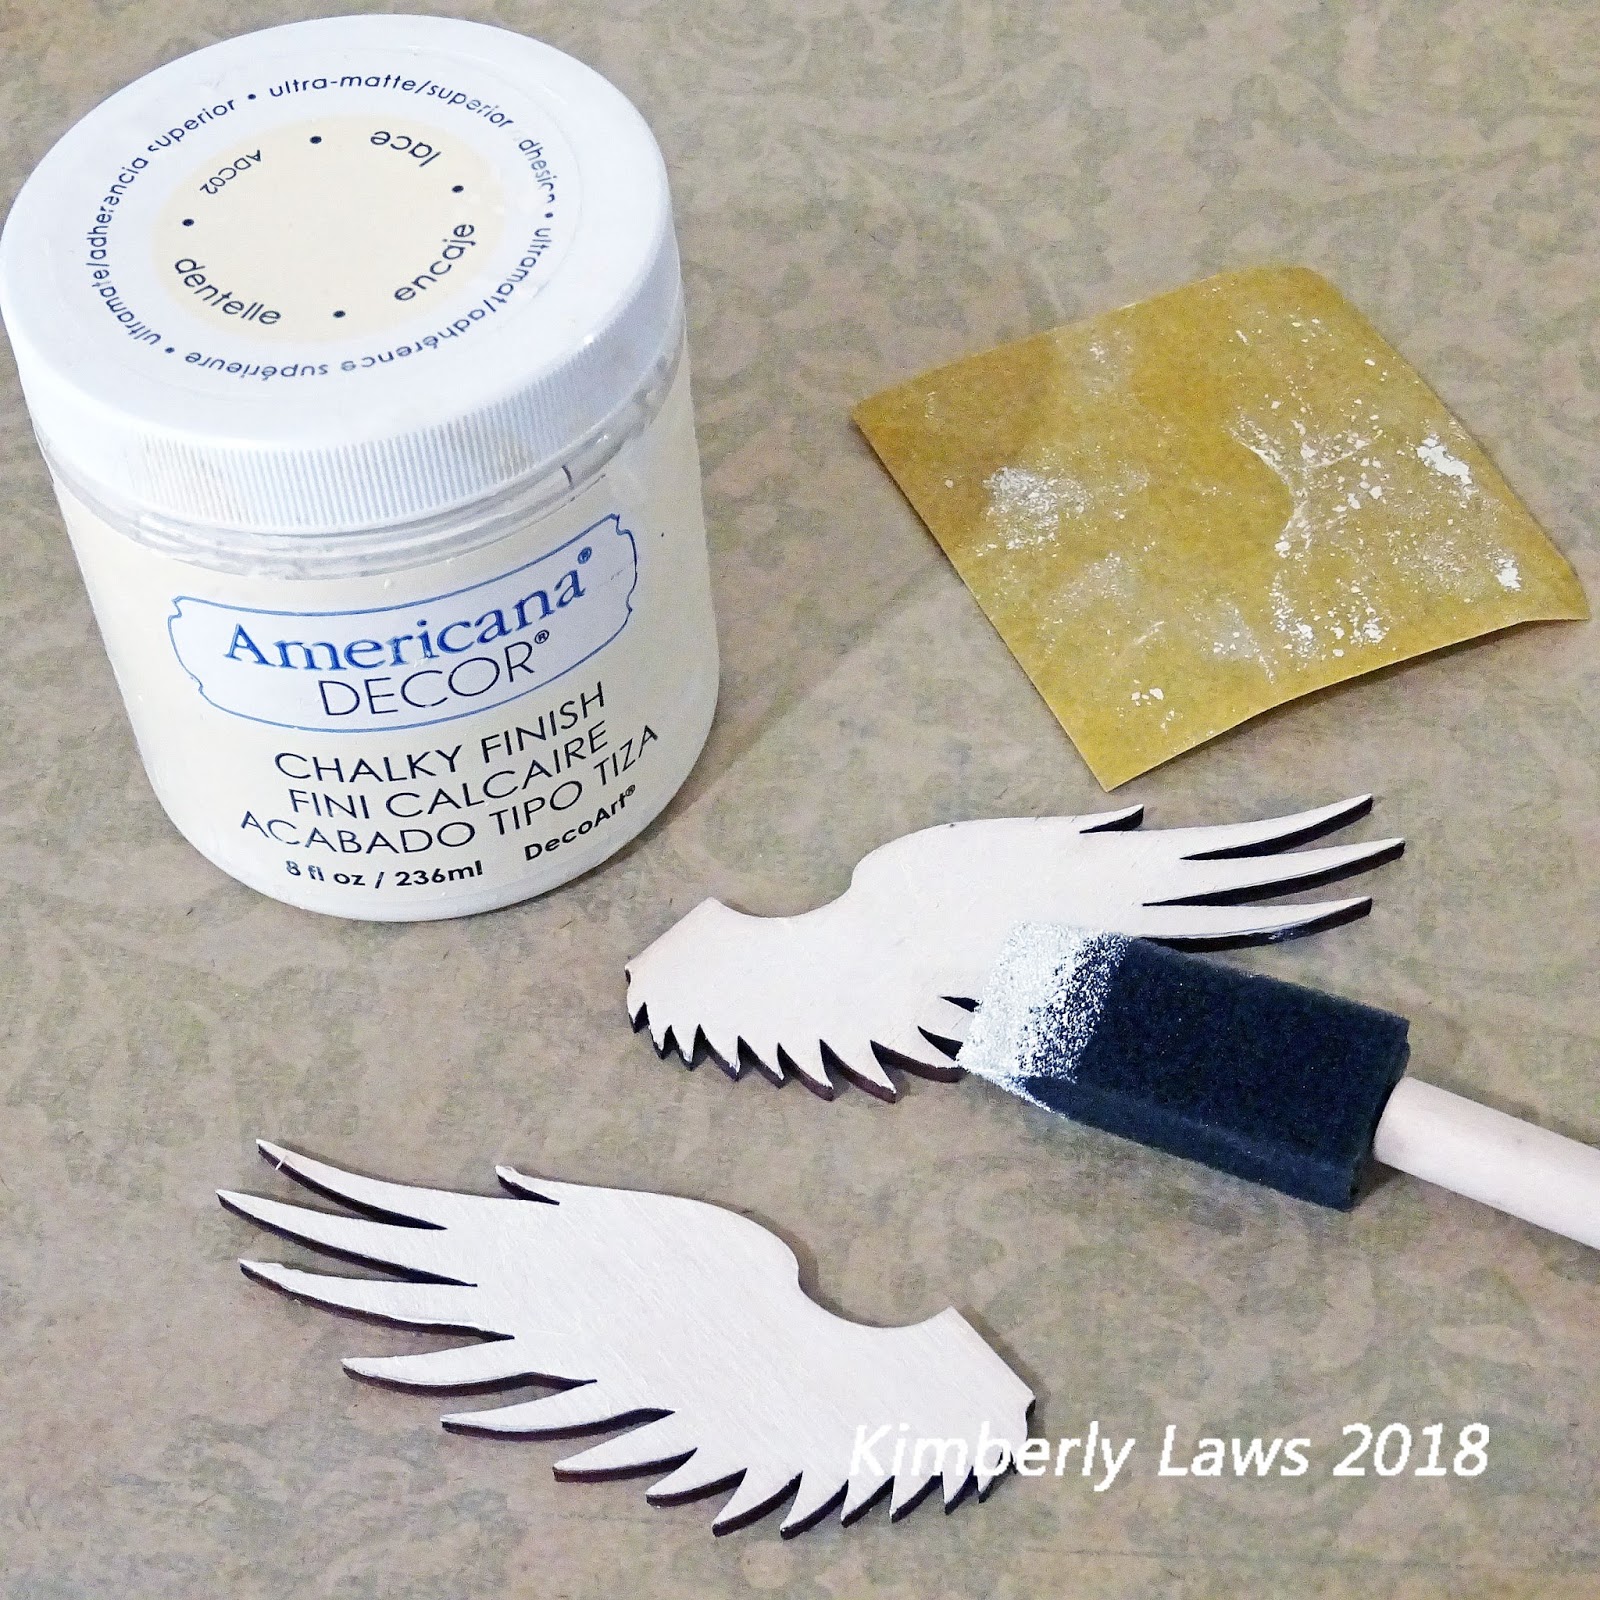
use a foam brush to apply a light coat of paint to the wings,
allow them to dry,
lightly sand to distress them a bit
(I like chalk paint,
acrylic is a perfectly acceptable alternative)

(apologies: there's no picture of the foam tape)
apply foam tape to the flat back of the tin,
peel the protective strip,
center and press the wood backing in place

use liquid glue to attach the wings to the wood backing piece

attach the beaded chain to the eye wire at one end,
attache the chandelier crystal to the end of the beaded chain
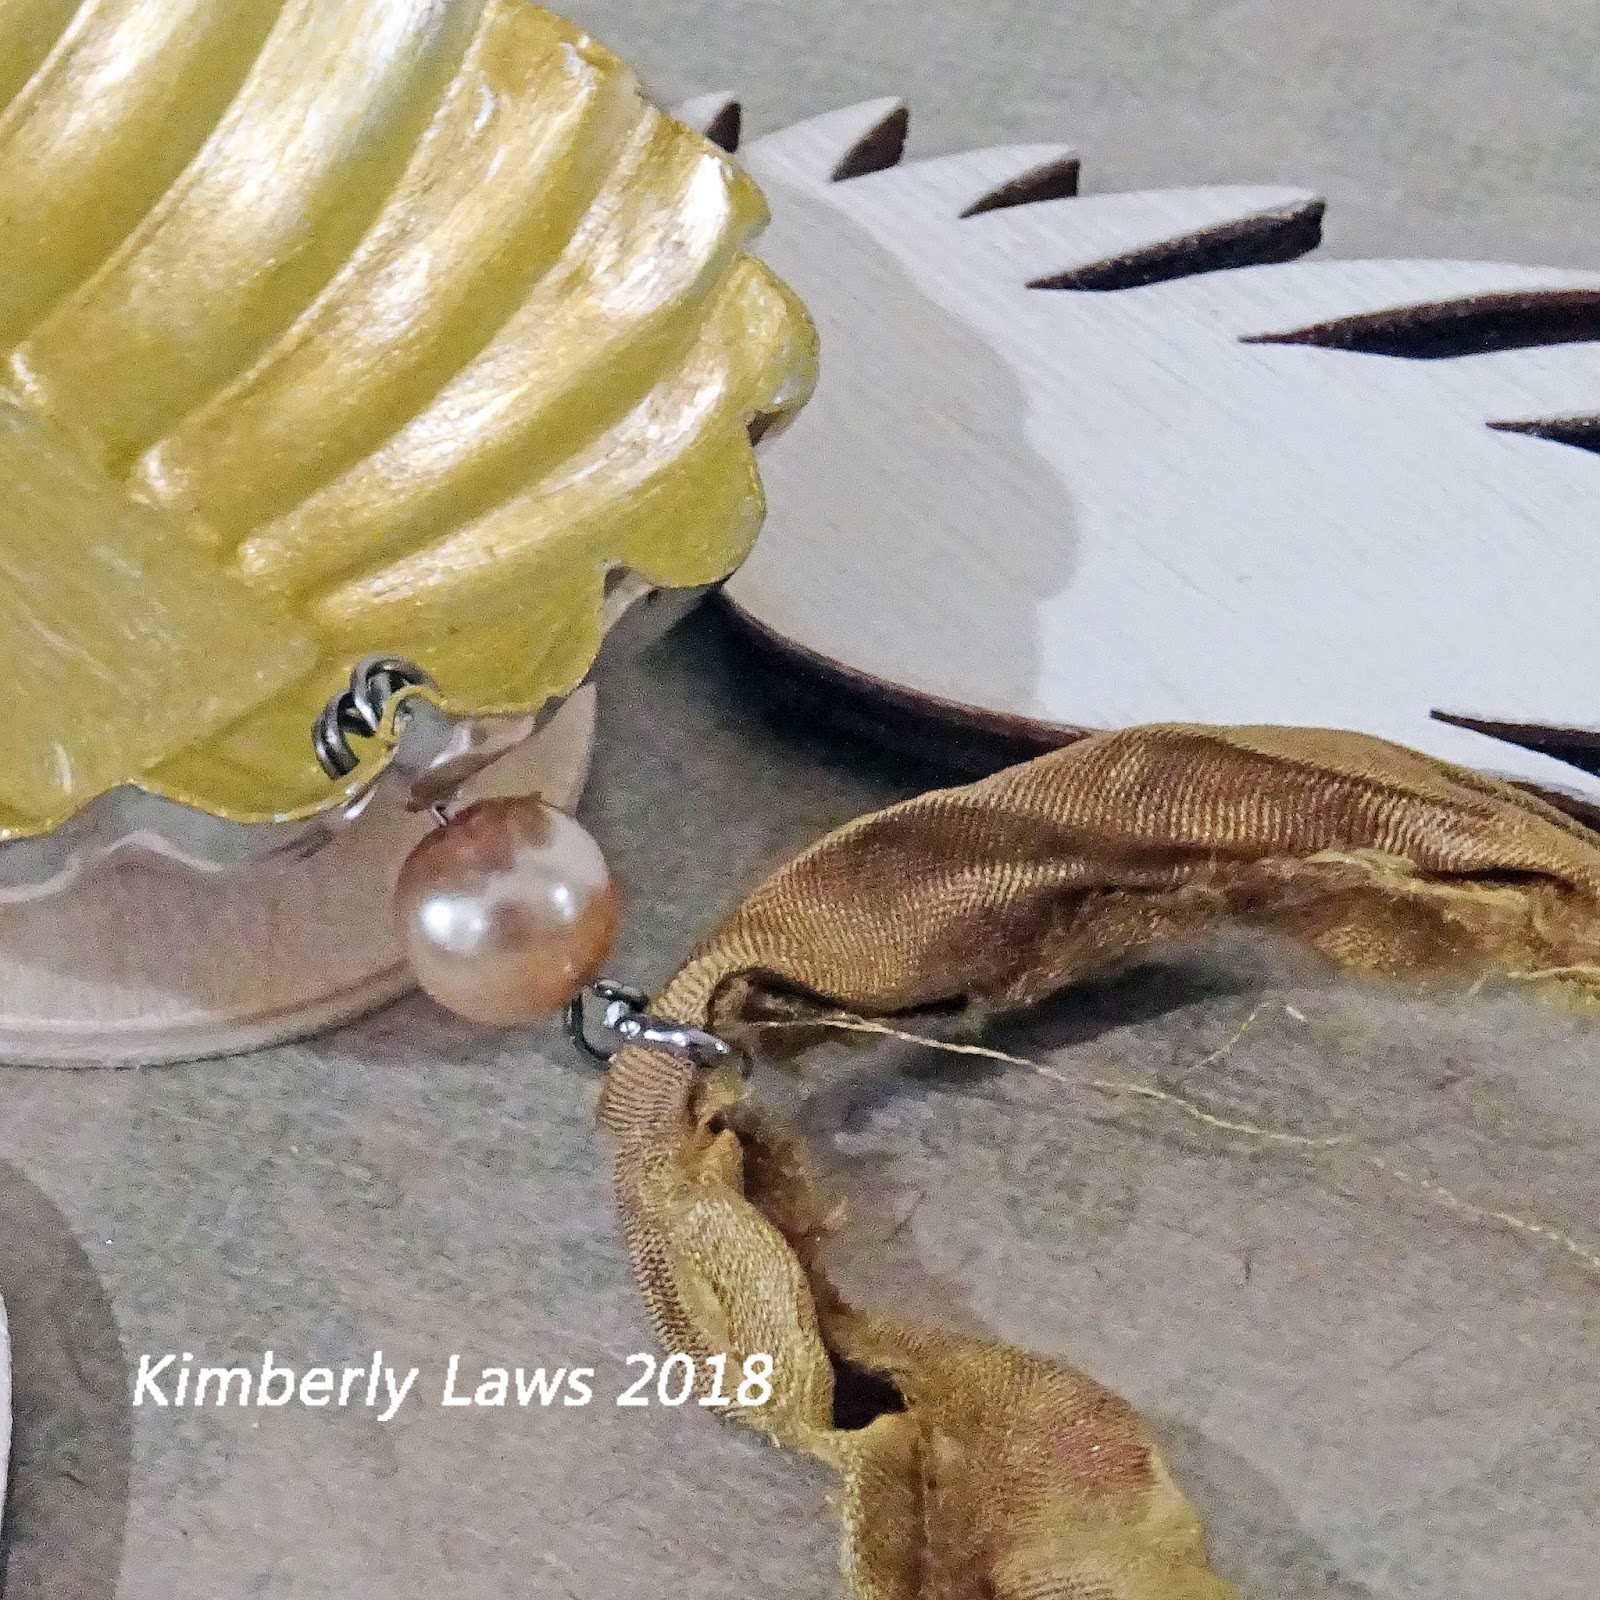
attach the jump ring to the opposite eye wire,
thread the sari silk through the jump ring,
knot the ends of the sari silk

bunch up the cheese cloth and secure with a dab of E6000 glue

use E6000 to secure the back of the doll to the tin
(HINT:
use a bit of hot glue to hold the doll in place while the E6000 dries)

arrange and glue the moss as in the photo above

arrange 2 bundle of paper roses
(one with 3 roses and the other with 7 roses),
use one of the stems to wrap and secure the bunches,
trim the ends with scissors or wire snips

glue the roses in place
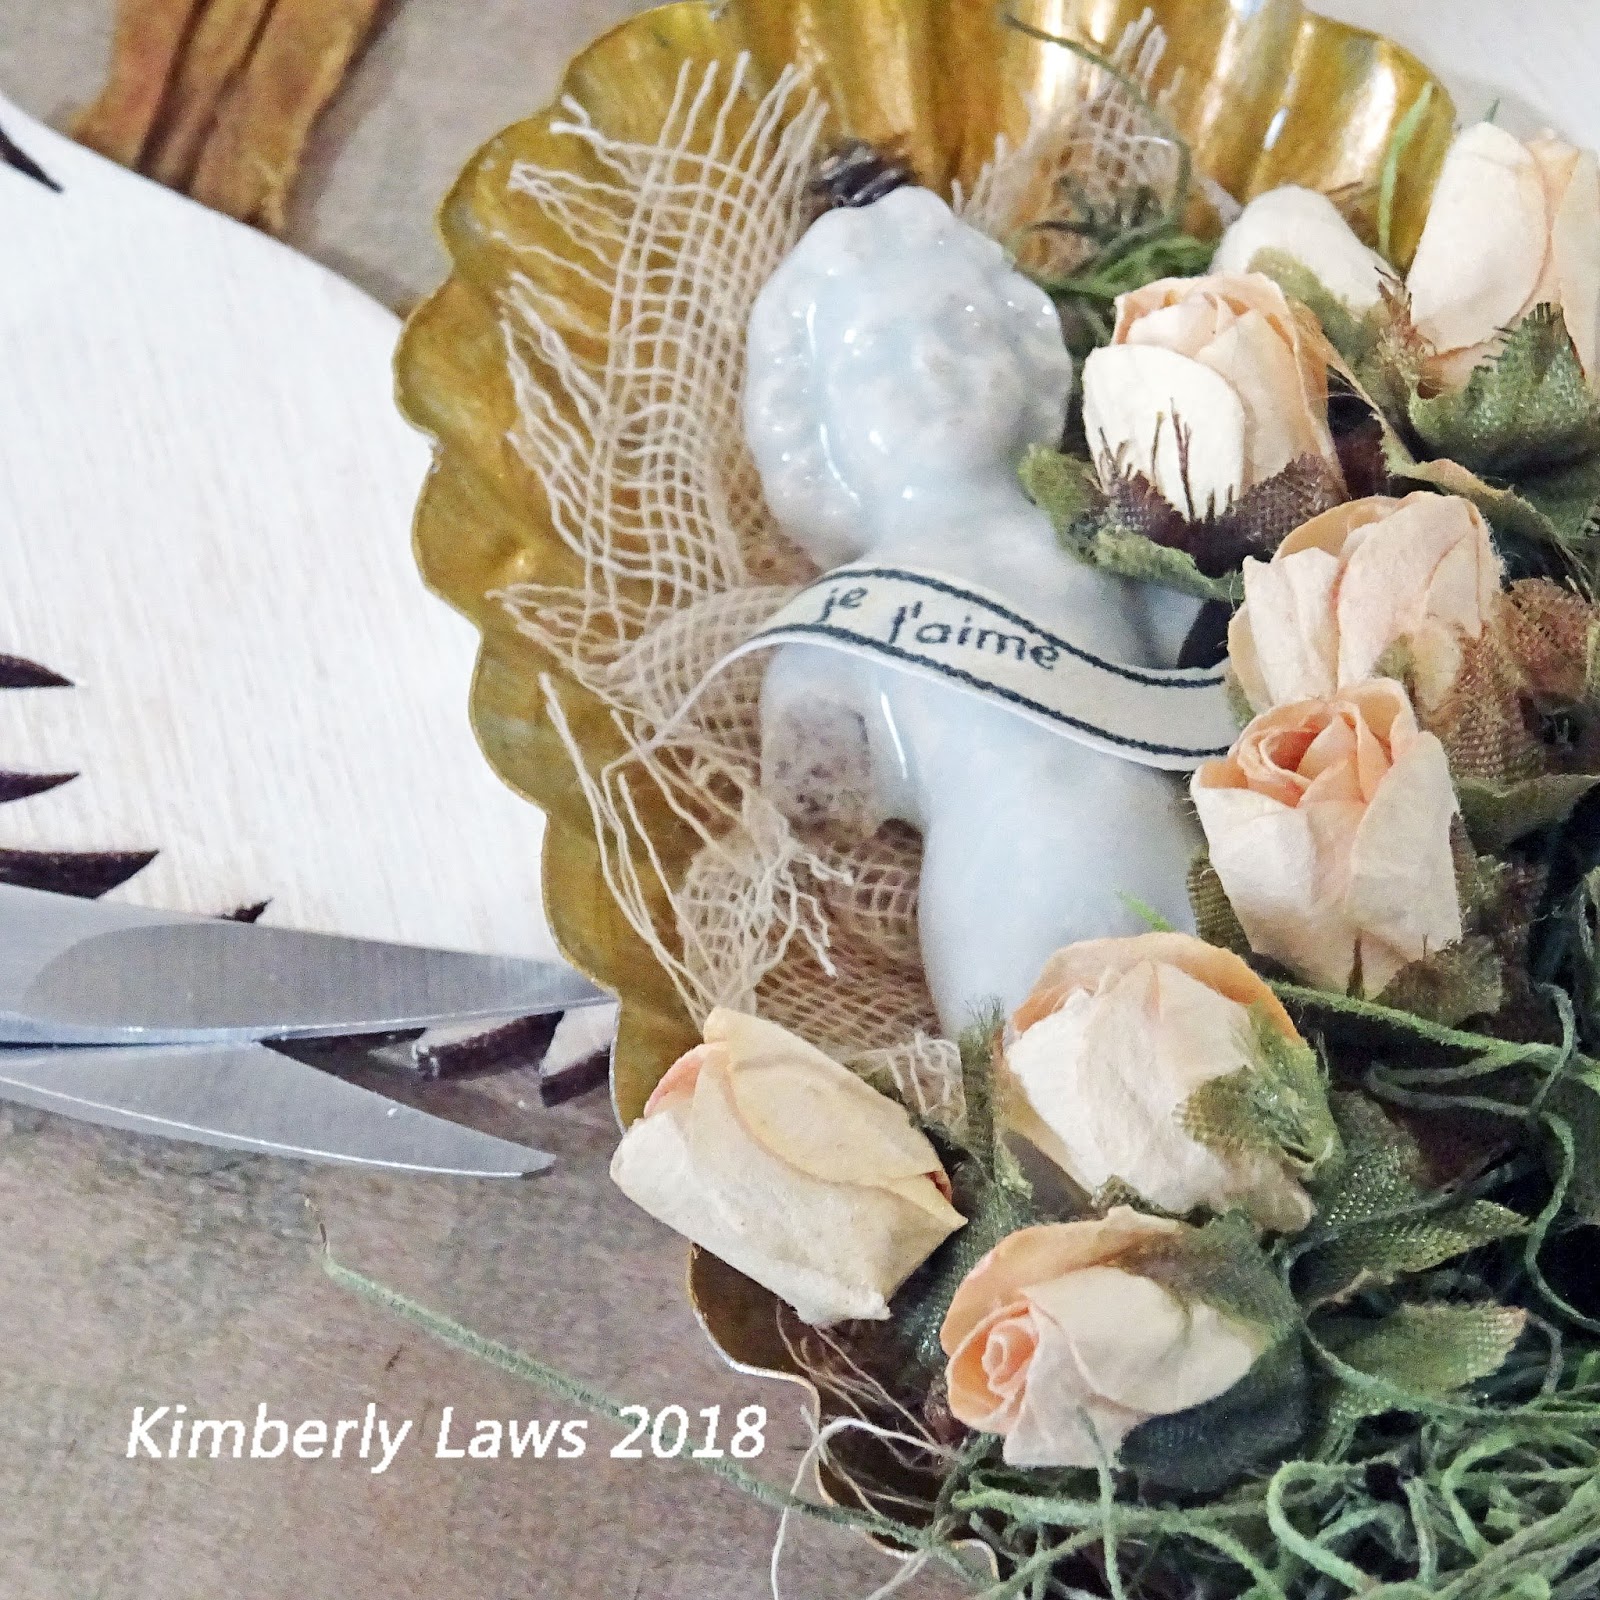
fussy cut the banner,
glue it to the doll like a sash

use hot glue to secure the 2 flower beads as shown
Please don't hesitate to ask questions.
The original and a limited number of kits
are available for purchase in my Etsy shops.
Wishing you a beautifully creative day!
hugs,
Kim
3 comments:
Kim Dear ths is precious. Thank you for your tutorial on how to create this Spring ornament. Spring Bliss...<3
Wonderful how to- dear Kim-
I loved to see what you did, to create this most beautiful ornament .
Thankyou friend.
Big hugs and love,
Dorthe
Thank you Kim for the fun tutorial..an adorable project. Hoping the storms missed you.. enjoy a lovely weekend
Post a Comment