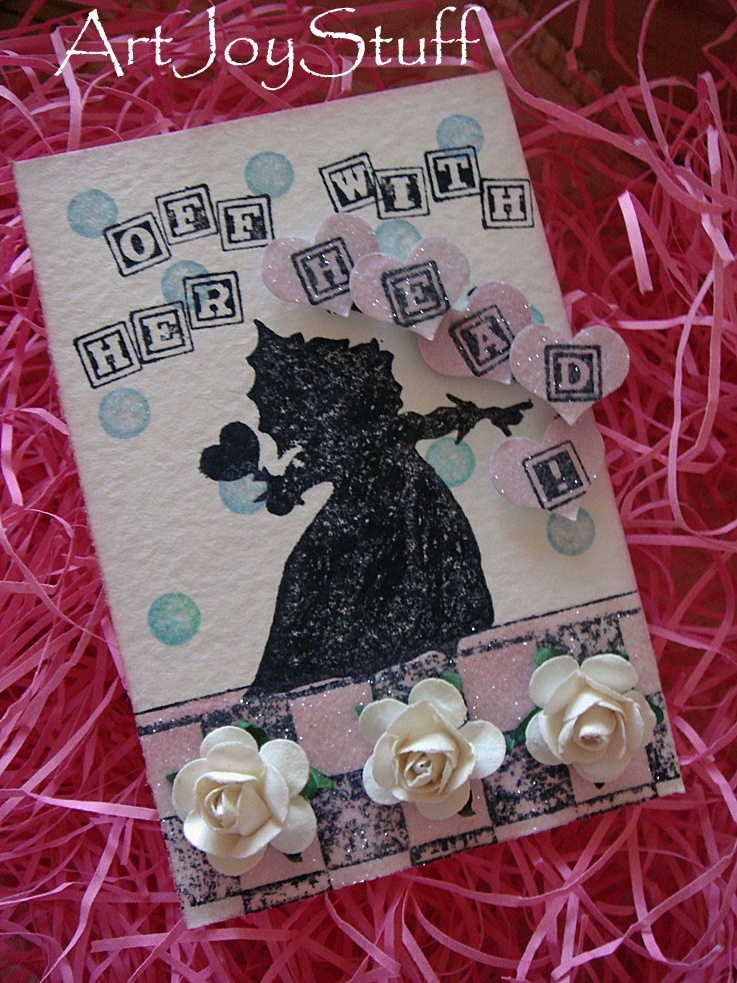

I joined blissfullARTswaps'
Alice Charm Swap.
I wanted to try something new
and thought I would share my technique here.

No. 1
I used antique eyeglass lenses,
but you can use microscope slides
or any other glass you think might work.
Be sure that your glass is clean.
No. 2
Stamp image on flat side of lens,
using StazOn ink.
No. 3
Use a heat gun to set ink,
or allow drying time according to manufacturer's directions.

No. 4
Select the colors of acrylic paint you want to use.
No. 5
Working over the stamped image
and using one paint color at a time,
fill in one area of the image.
No. 6
Use heat gun to set paint.
Allow glass to completely cool
before proceeding to the next area to be painted.
No. 7, 8, and 9
Repeat No. 5 & 6 for each color.
It will look like a hot mess on the side you are working on.
No. 10
Cover the entire surface with your background color,
and dry with the heat gun.
No. 11
Repeat No. 10.
You may need to repeat this a third time.
The background color should be opaque when dry.
No. 12
Once dried and cool,
flip over the lens to be amazed!

No. 13
This shows that I am not the neatest painter.
You should clean the edge of the lens,
I use my fingernail to scrape any overflow of paint.
No. 14
Cut a piece of paper to fit the back of the lens.
No. 15
Make a "sandwich" of the three layers,
painted lens - paper - clear lens.

No. 16
Using copper foil tape,
wrap the edge of the "sandwich."
No. 17
I am not going to give a lesson in soldering,
I am by no means an expert.
(you only need to enlarge these photos to be assured of that fact)
There are plenty of great tutorials out there.
No. 18
After all are soldered,
give them a good cleaning with glass cleaner.

Here are mine,
ready to go!
I am sharing at:

I hope you give this a try.
It really is so simple,
and I think the results are very sweet.
enJOY Your Blessings,
Kimberly